
Learning Worksheets Tracing Pre-writing lines
Free printable PDFs · ages 2½–4 · three levels · 22-page pack
Free Pre-Writing Worksheets: Standing, Sleeping and Slanting Lines
Twenty pre-writing worksheets that follow the order small hands actually develop: standing lines first, then sleeping lines, circles and crosses, and later slanting lines, squares and triangles. Curves, waves, zigzags and loops are included too. The sheets move through three levels, from big crayon paths with a green start dot to drawing on your own, and every sheet ends with big dotted letters that the line will later help with. There is a one-page guide for grown-ups on grip, sitting and when a child is ready for letters, and a progress chart with a certificate. Standing, sleeping and slanting lines are what nursery and LKG teachers in India call them; in the US and UK you may know them as vertical, horizontal and diagonal lines.
Free · A4 (prints on US Letter) · 22 pages · colour and ink-saving black and white · no sign-up
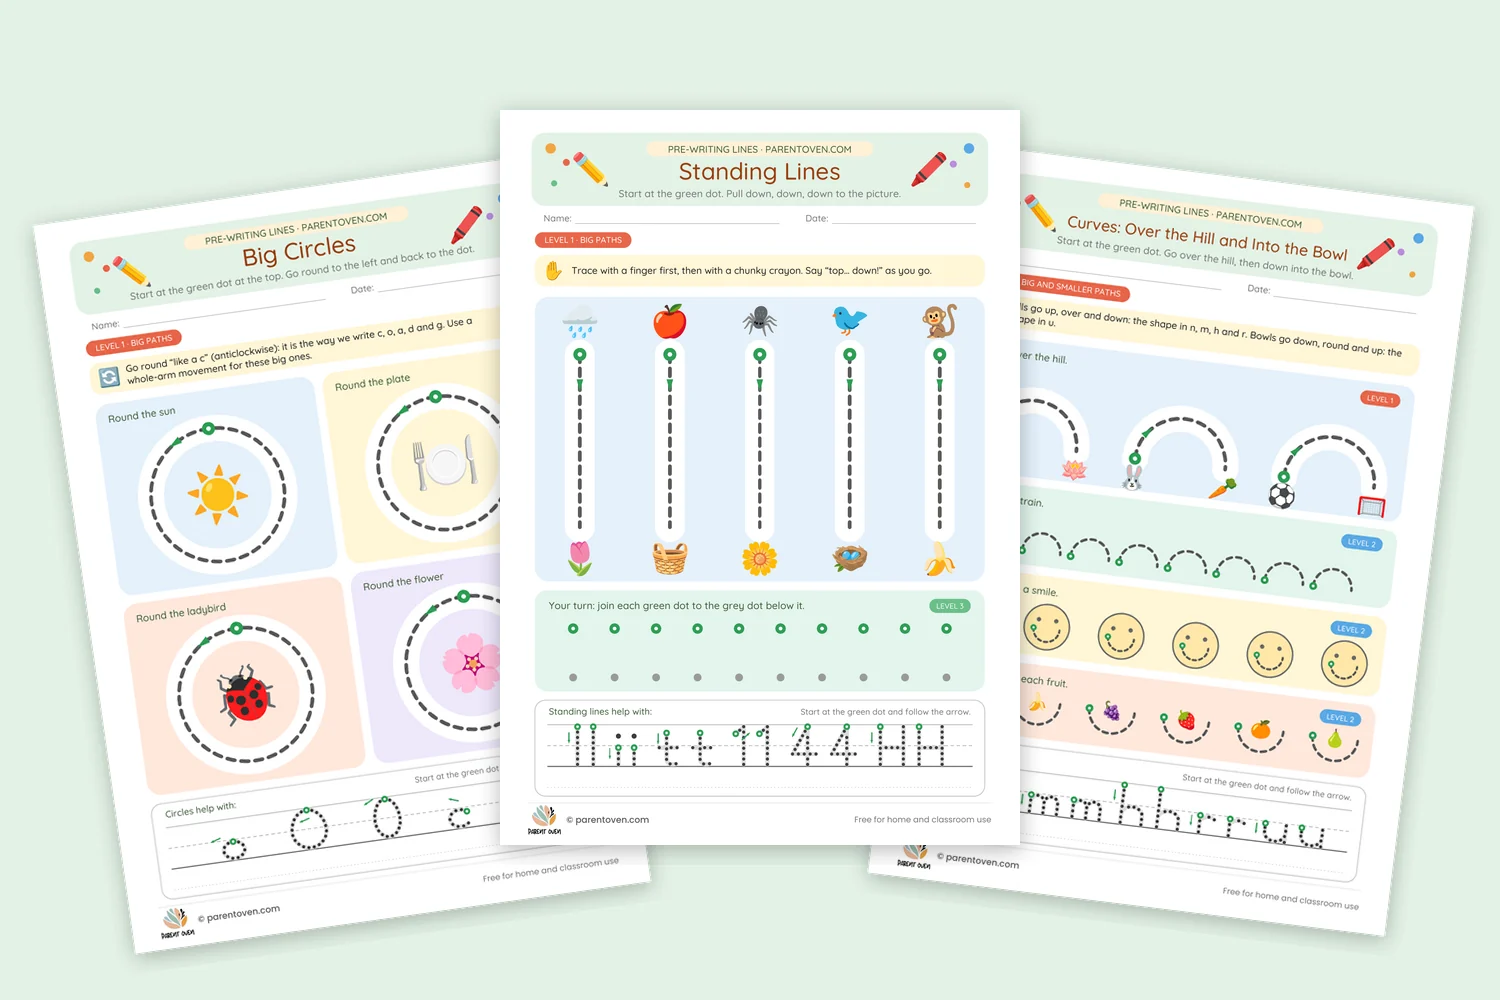
Grown-up guide · 20 sheets in three levels · progress chart and certificate · colour 736 KB, black and white 677 KB
Free pre-writing printables
20 pre-writing sheets in 11 PDFs
Each line family is a separate PDF in colour and in black and white, in the order children usually learn them, so you can print only the stage your child is at. Every PDF ends with the grown-up guide.
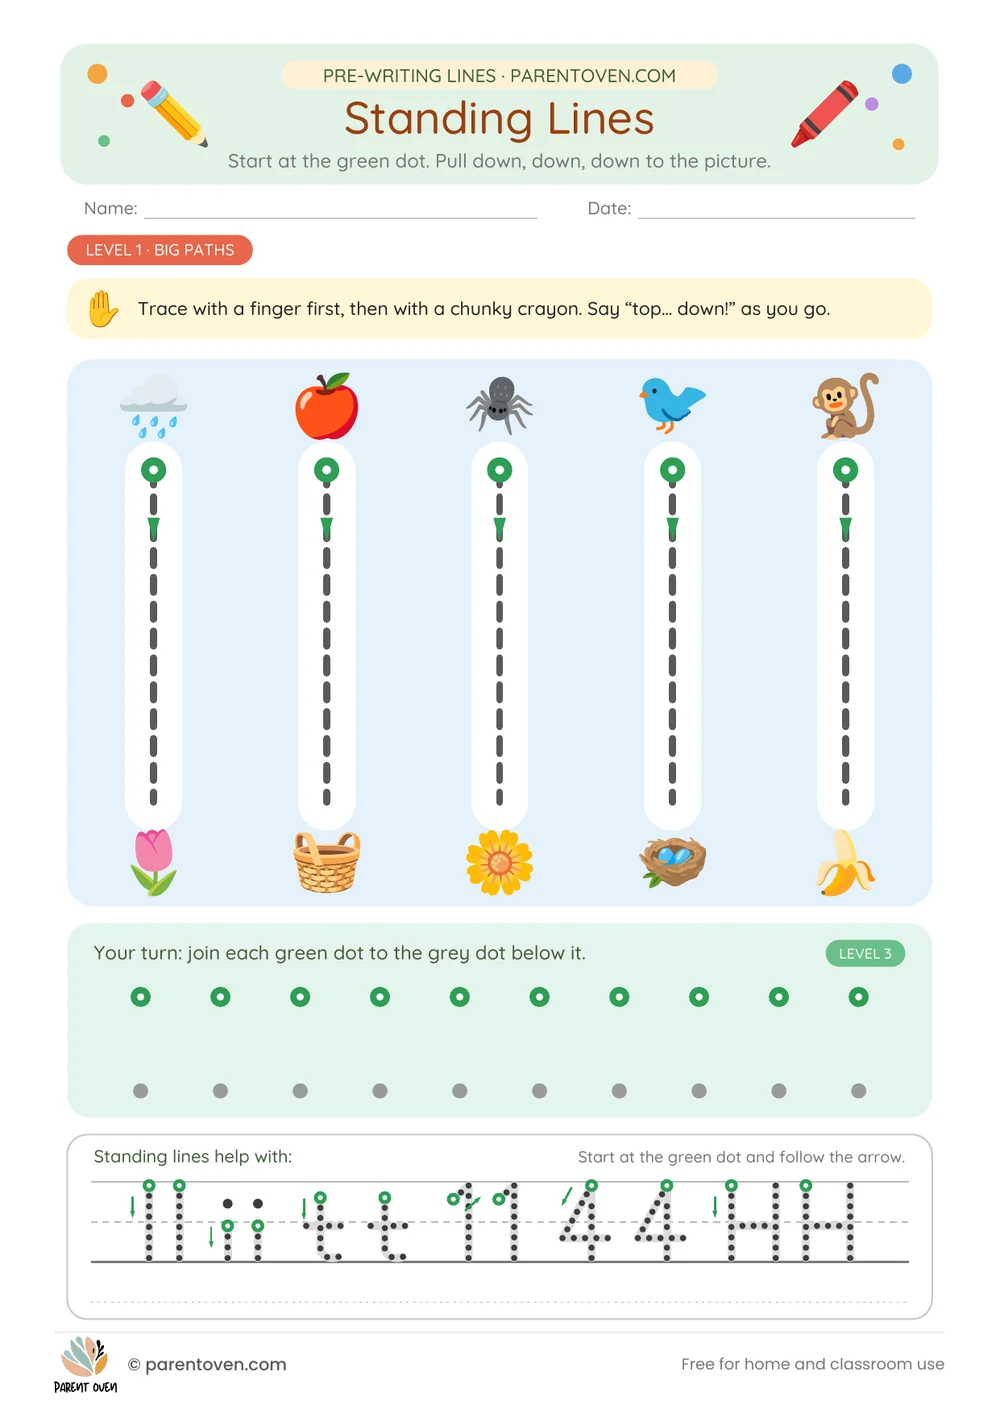
Standing lines (vertical)
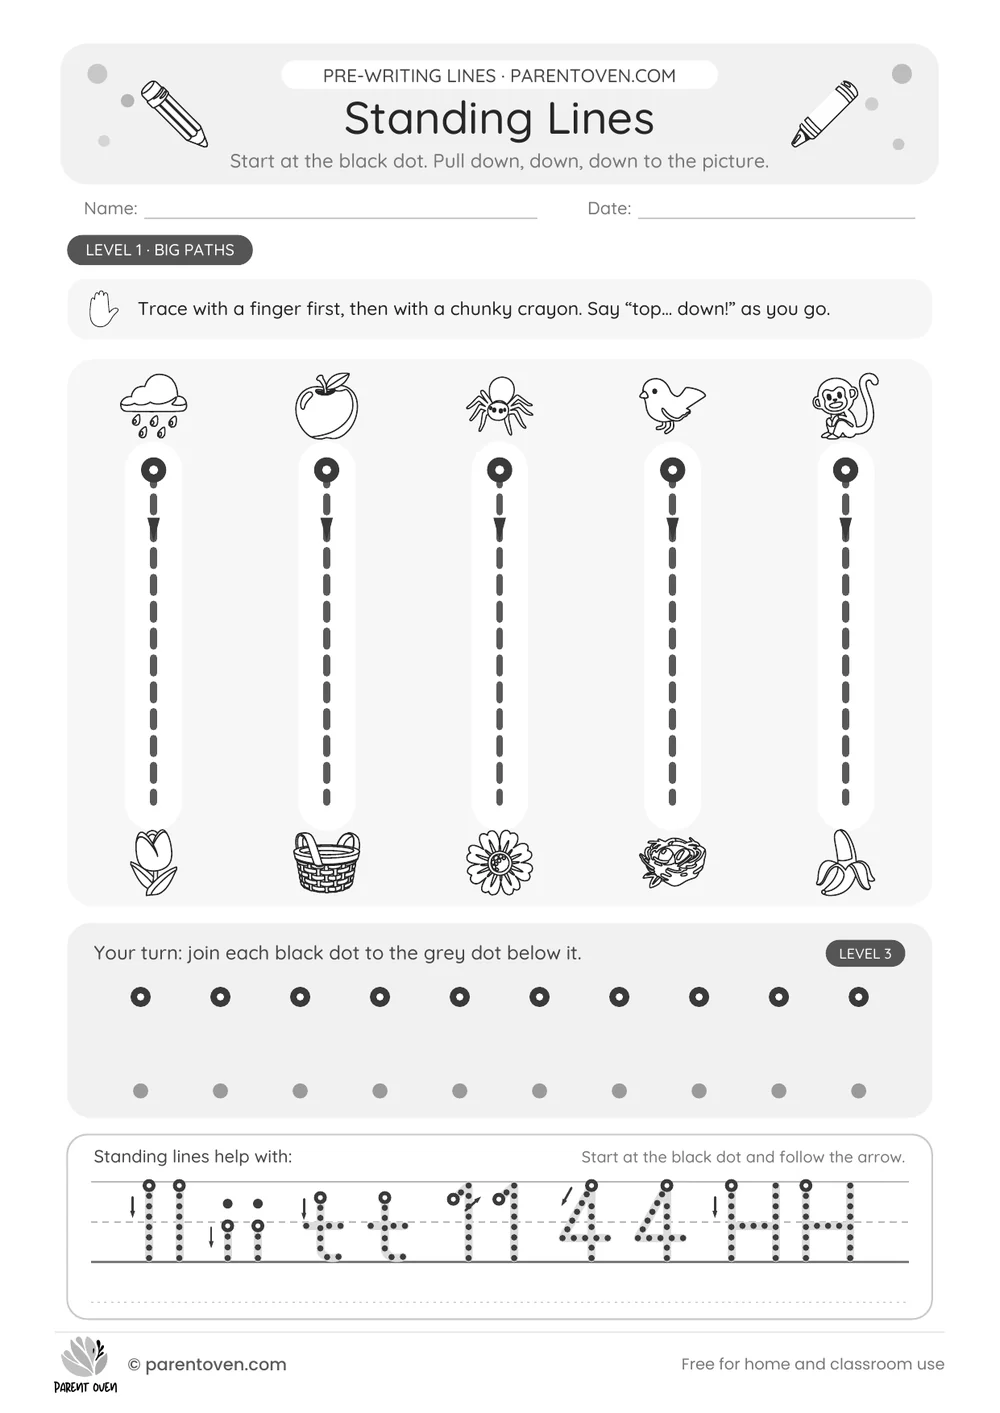
Level 1: pull down from the green dot along five wide lanes, from rain to a tulip, an apple to a basket and a bird to its nest, then join 10 dot pairs. Level 2: rain on the garden, fence posts for a cow and candles on a cake.
About 2½+ · A4 · 3 pages incl. guide · colour 214 KB · black and white 179 KB
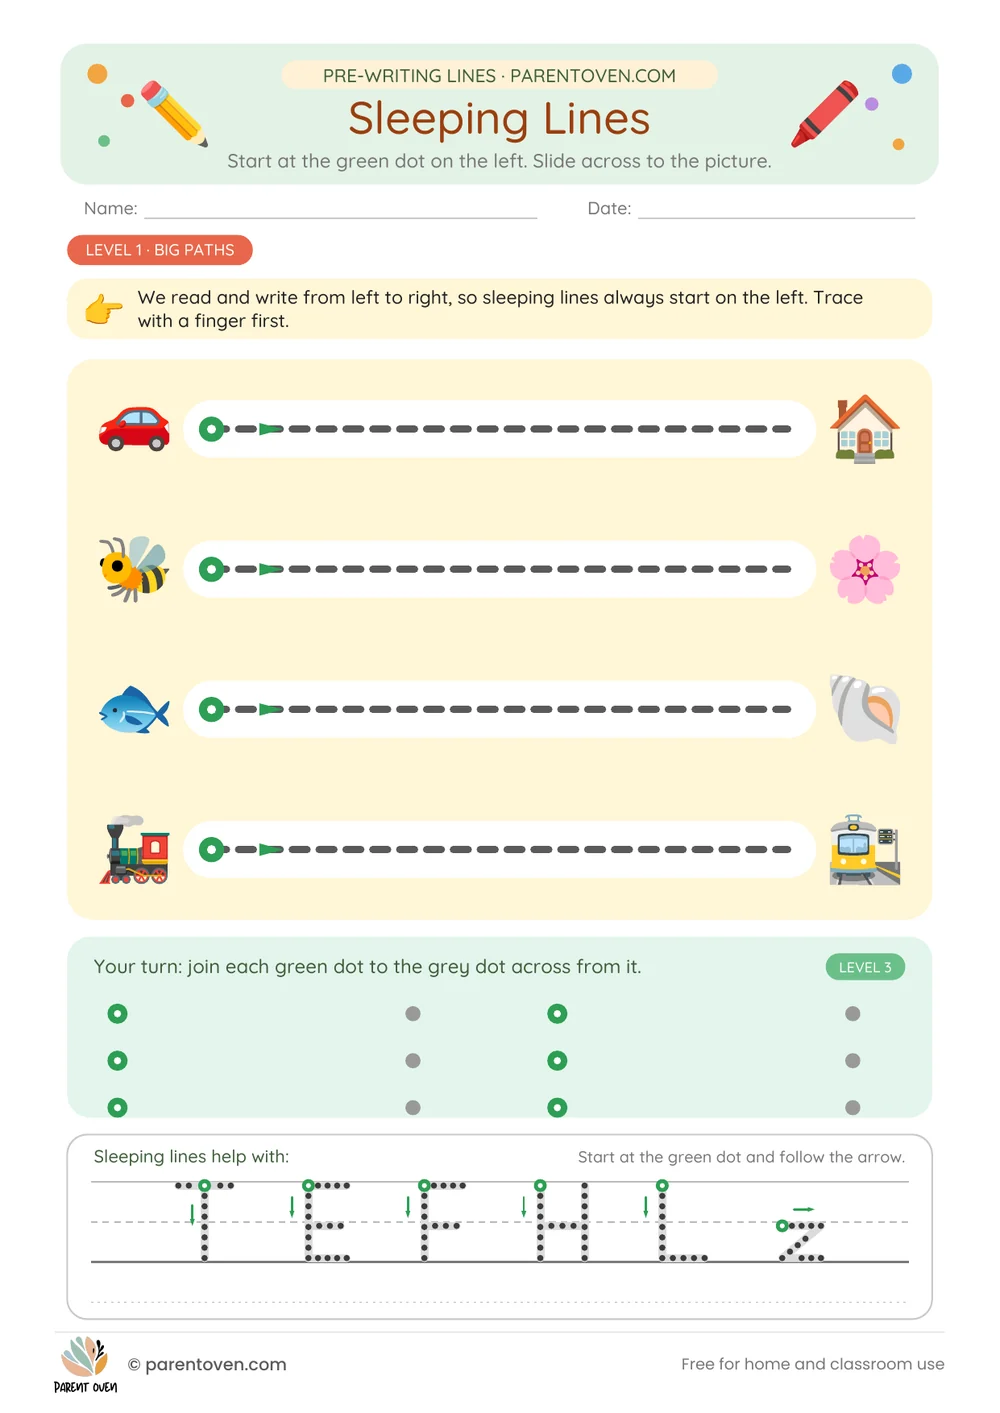
Sleeping lines (horizontal)
Level 1: slide from left to right, from a car to its house, a bee to a flower, a fish to a shell and a train to the station. Level 2: shelves for the toys, a rope bridge for a monkey and lines of different lengths.
About 2½–3+ · A4 · 3 pages incl. guide · colour 227 KB · black and white 189 KB
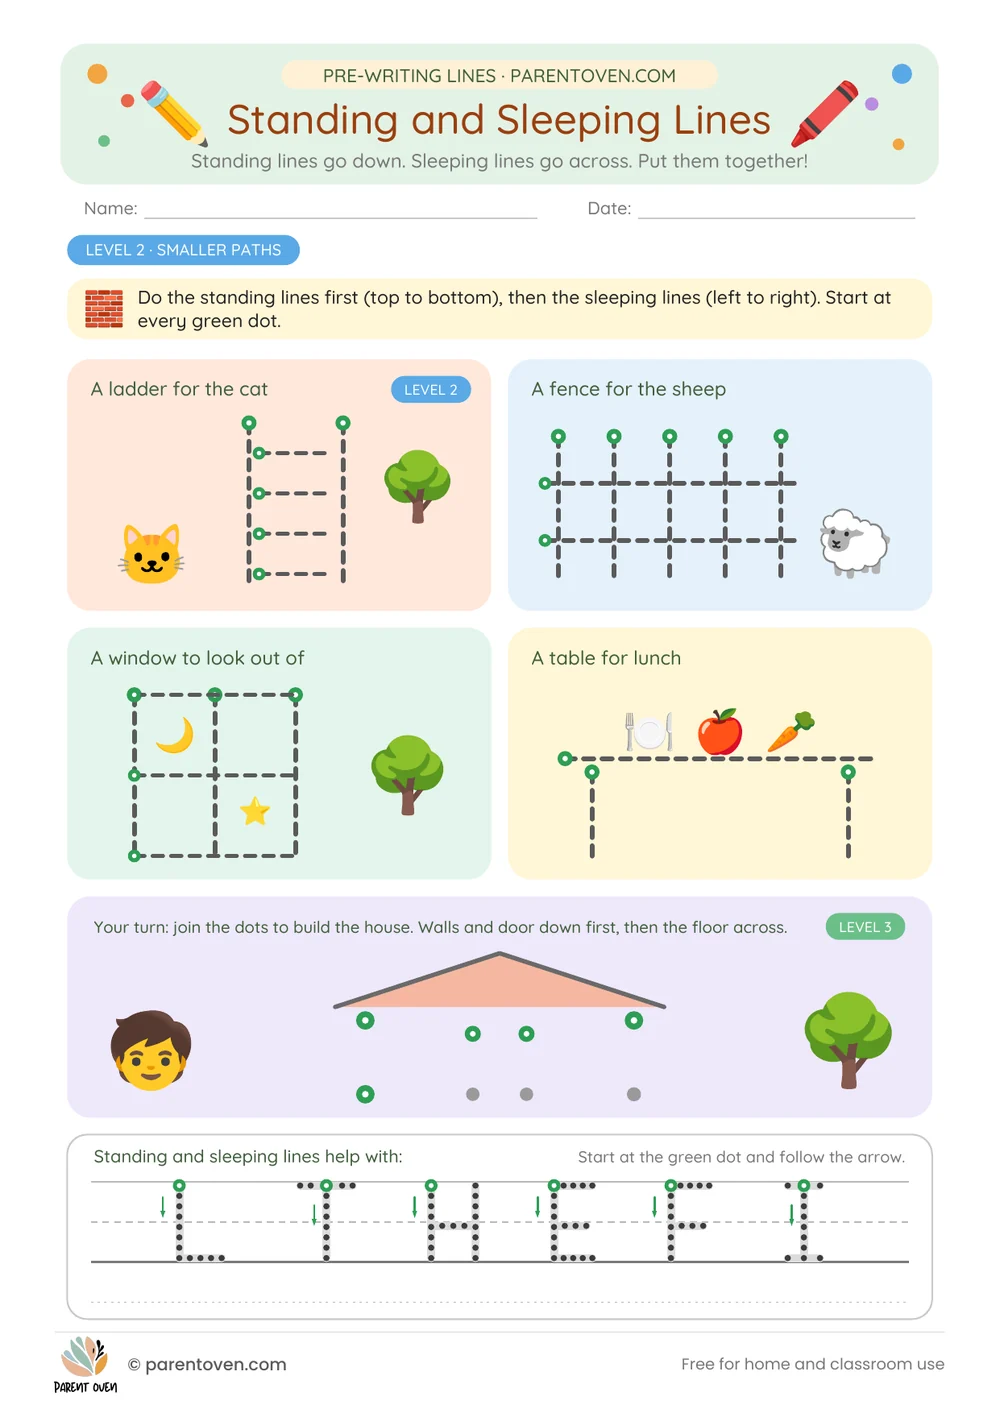
Standing and sleeping lines together
Build a ladder, a fence, a window and a table from the two lines, then join the dots to build a house: walls and door down first, then the floor across.
About 3+ · A4 · 2 pages incl. guide · colour 171 KB · black and white 136 KB
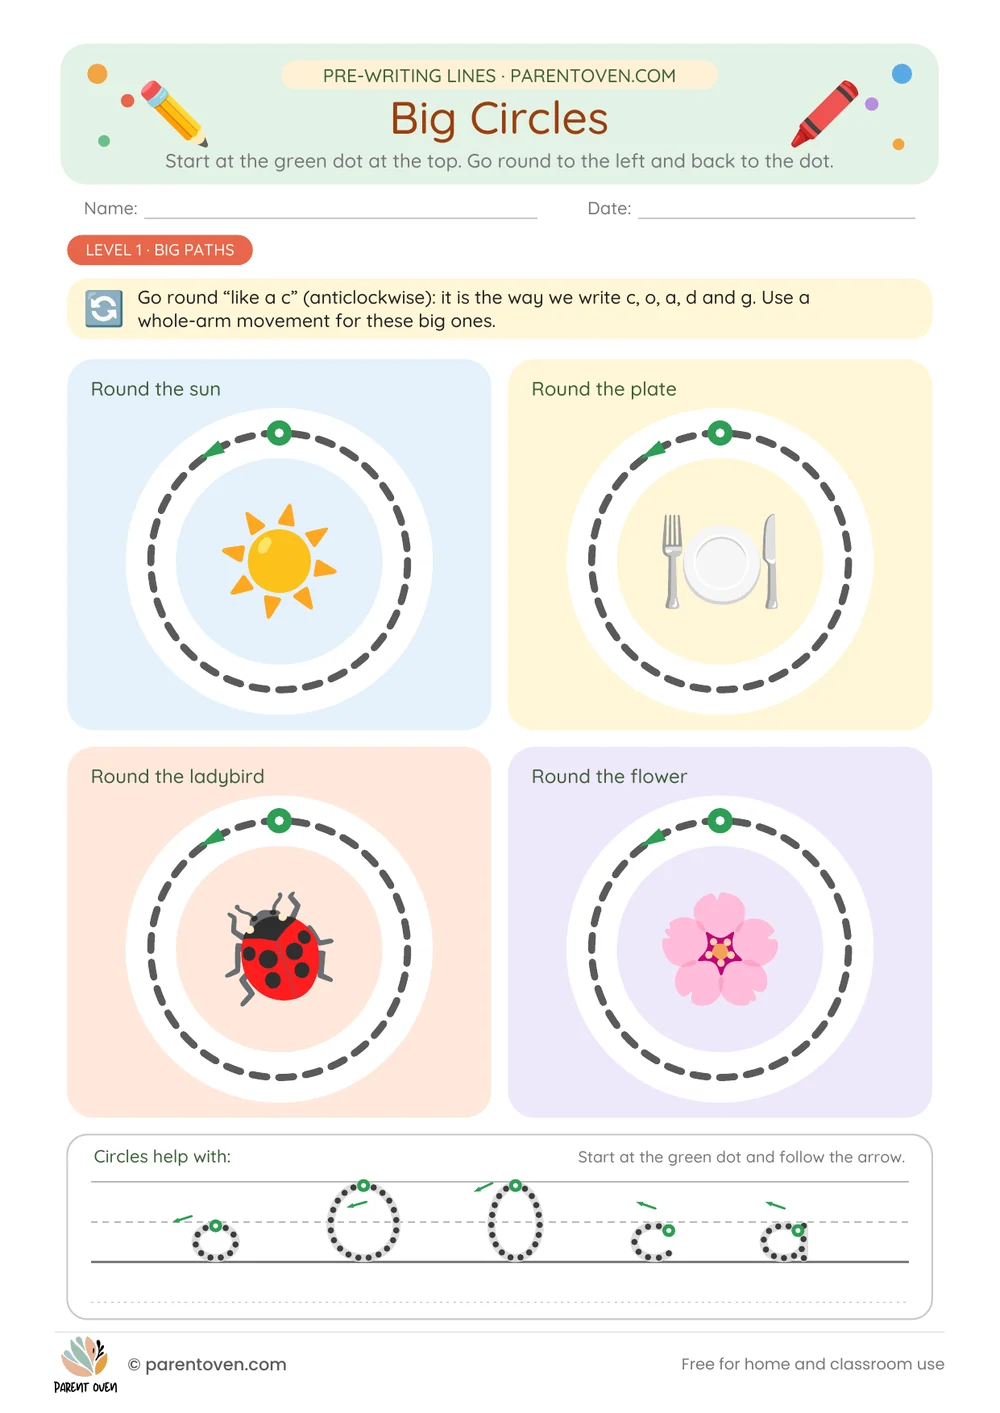
Circles
Level 1: four big circles round the sun, a plate, a ladybird and a flower, for whole-arm movement. Level 2: trace round a cookie and an orange, blow bigger and bigger bubbles, then draw circles from start dots.
About 3+ · A4 · 3 pages incl. guide · colour 206 KB · black and white 171 KB
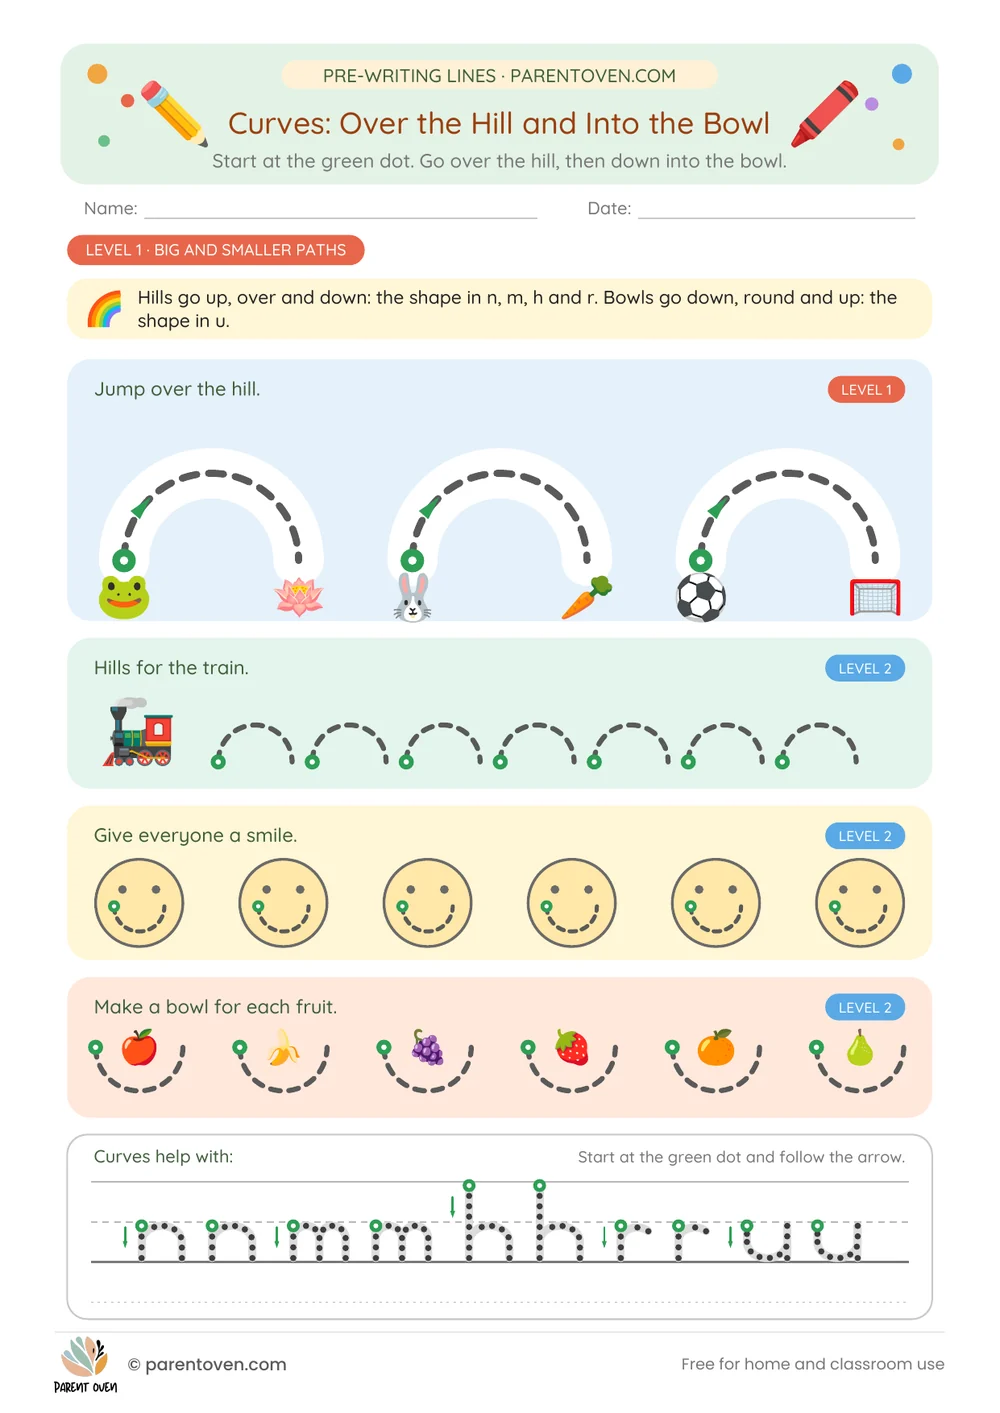
Curves and c-curves
Jump a frog over the hill, give a train its hills, draw smiles and bowls for fruit. Then c-curves round to the left (a mouse to its cheese), moons, and backwards curves for D, B and P.
About 3–3½+ · A4 · 3 pages incl. guide · colour 230 KB · black and white 196 KB
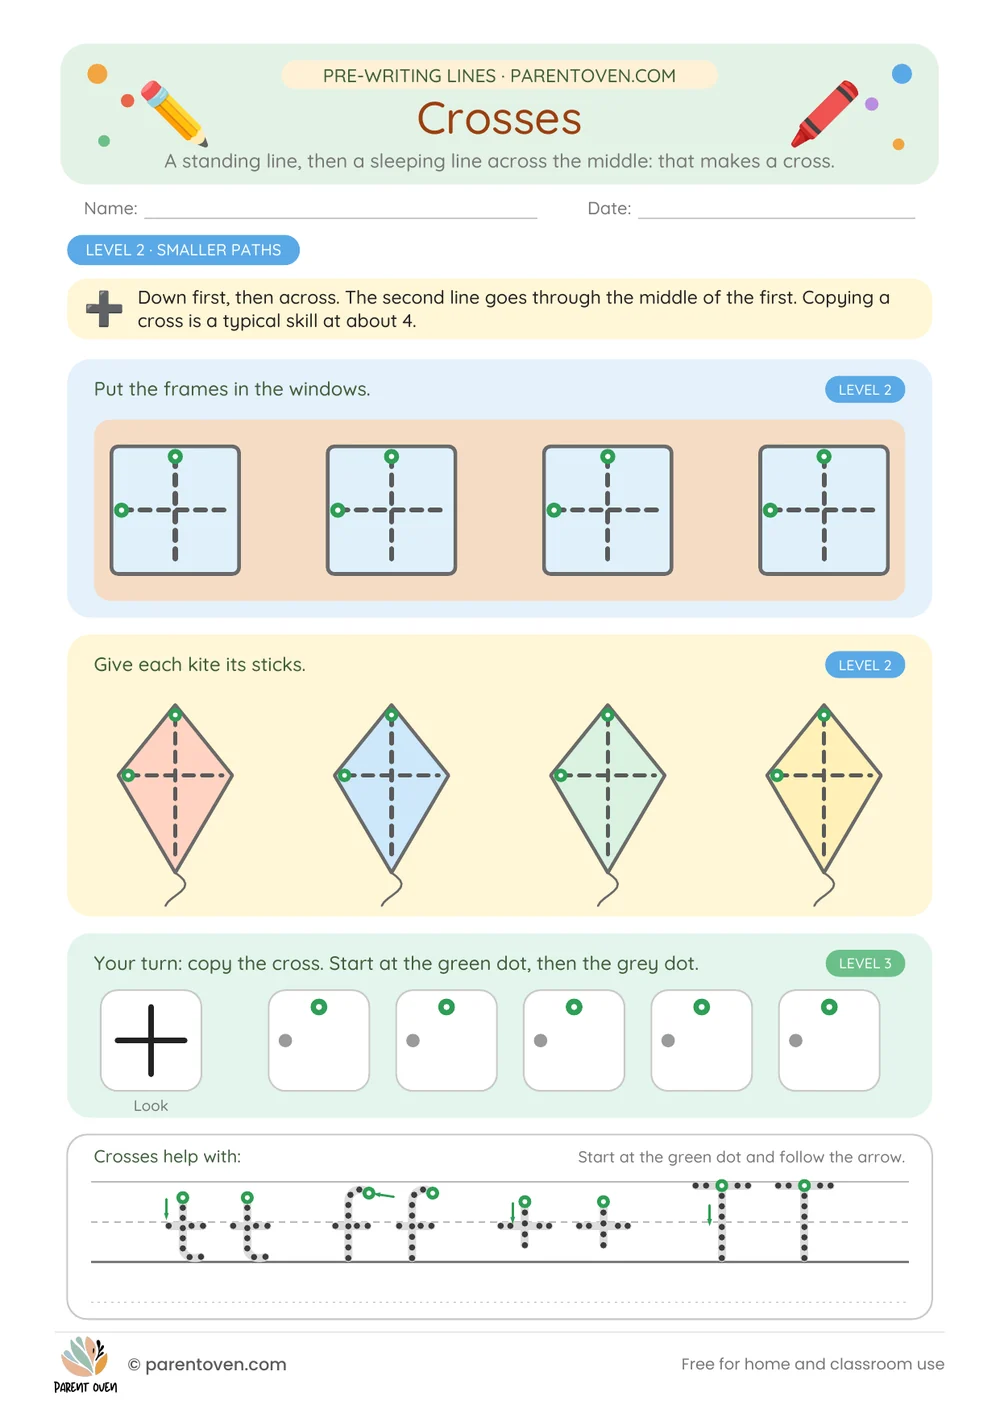
Crosses and squares
Window frames and kite sticks, then copy a cross from a model. Squares: frames for four pets, windows in a tall building and corner dots to join. Squares are a stretch sheet.
About 3½–4½ · A4 · 3 pages incl. guide · colour 177 KB · black and white 143 KB
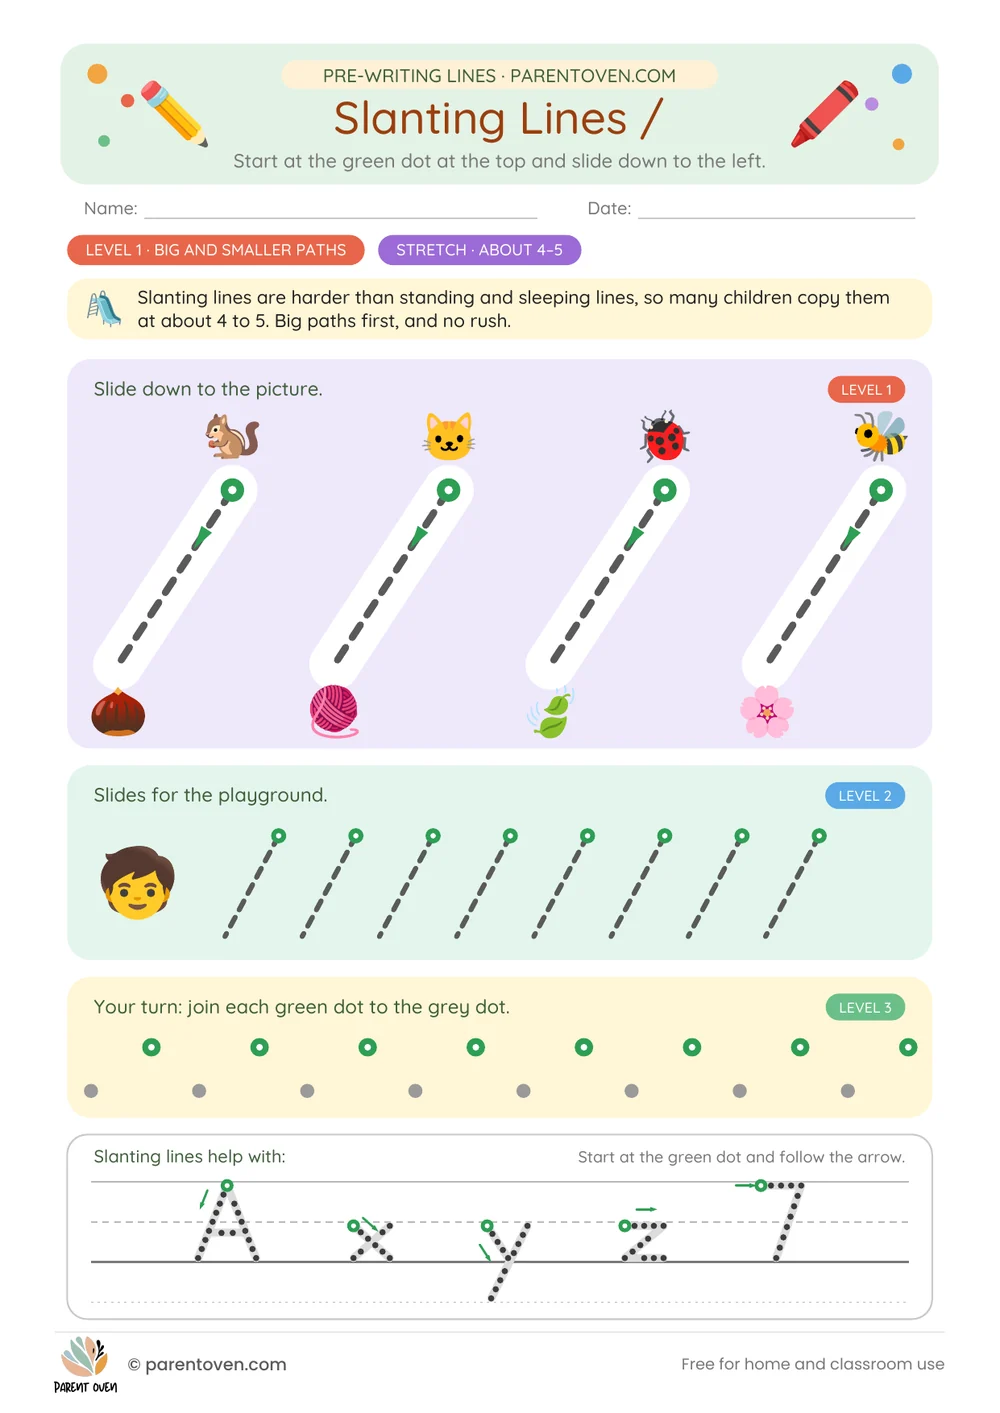
Slanting lines / and \
Two stretch sheets. Animals slide down to their food on wide diagonal lanes, then slides in a playground and rain blown by the wind, and dot pairs to join on your own.
About 4–5 · A4 · 3 pages incl. guide · colour 215 KB · black and white 177 KB
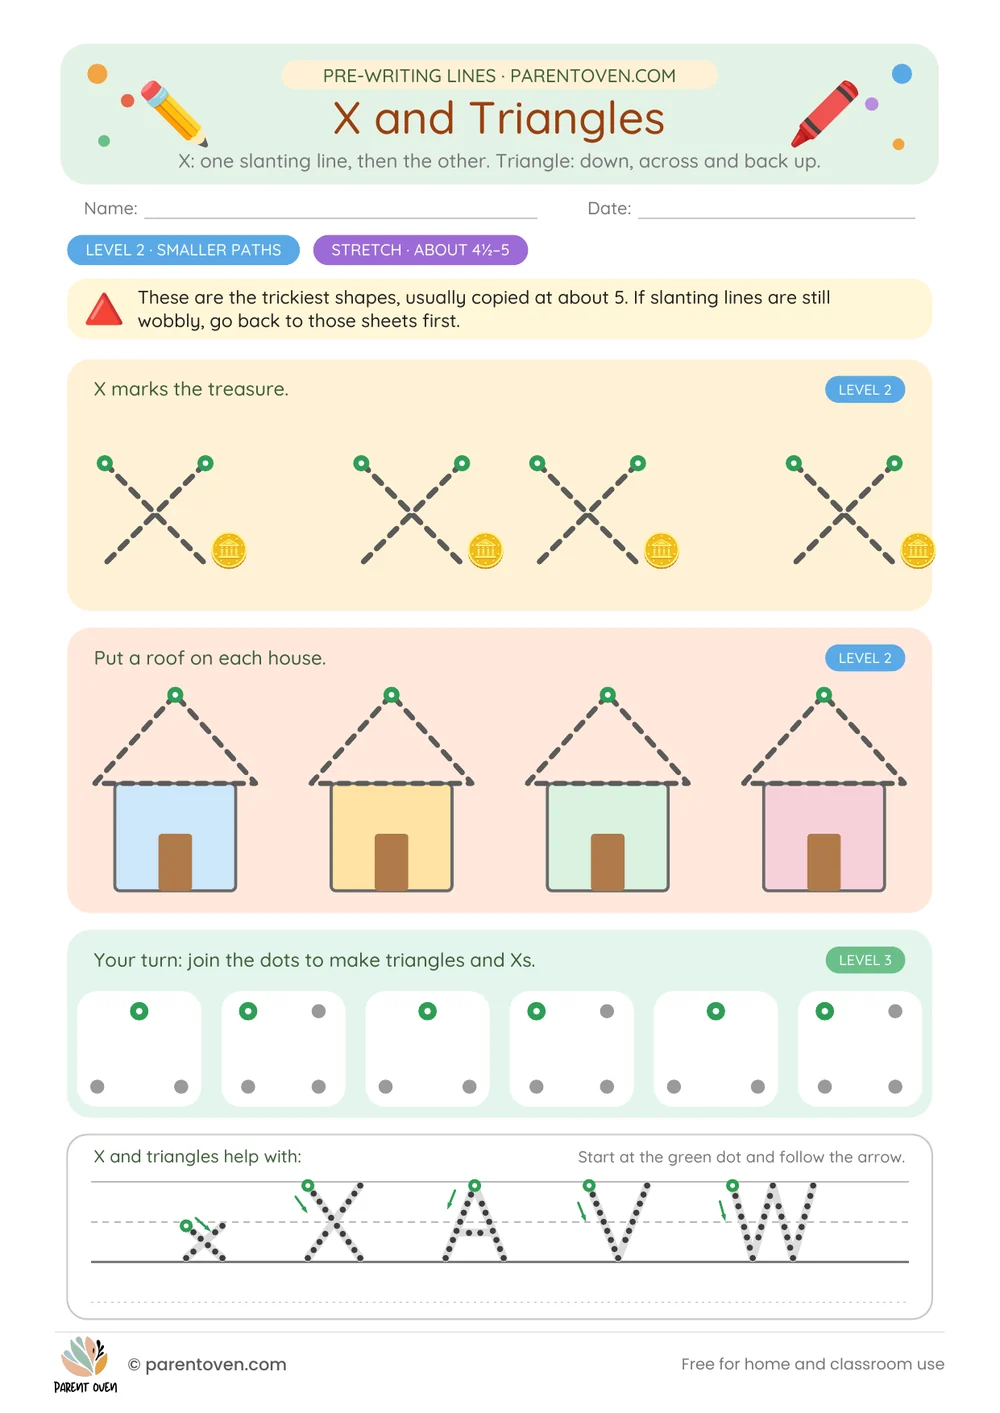
X and triangles
X marks the treasure, roofs on four houses, then join the dots to make triangles and Xs. The last shapes in the developmental order, so a stretch sheet for nearly-5s.
About 4½–5 · A4 · 2 pages incl. guide · colour 154 KB · black and white 122 KB
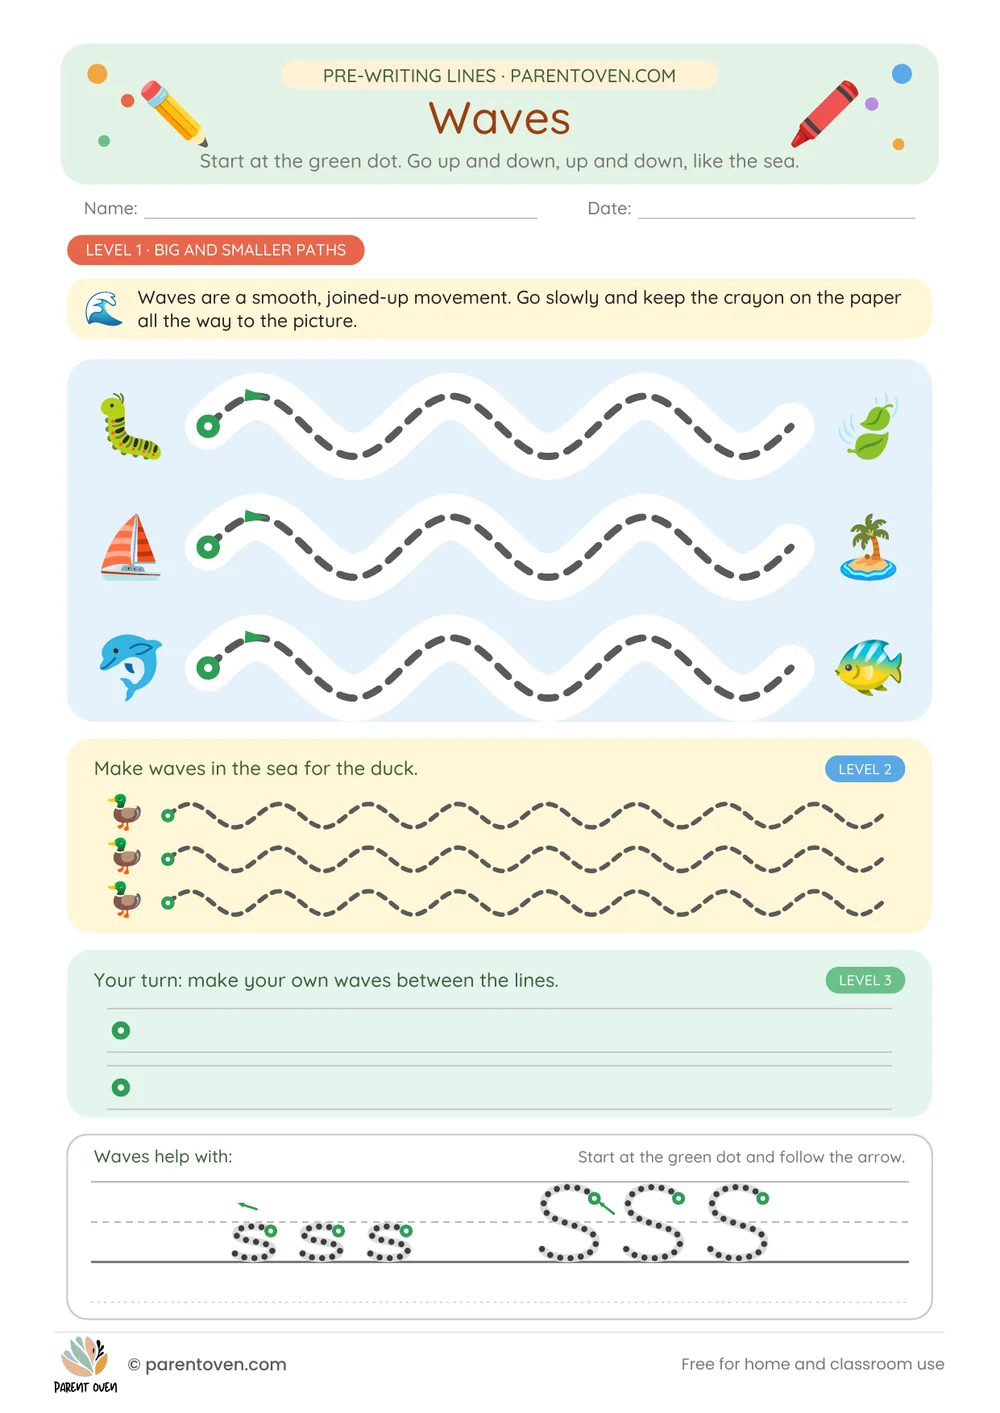
Waves, zigzags, loops and spirals
Waves for a caterpillar, a boat and a dolphin; zigzag mountains for a goat, a crocodile’s teeth and lightning; loopy kite tails and snail shells that curl into the middle.
About 3½–5 · A4 · 4 pages incl. guide · colour 250 KB · black and white 213 KB
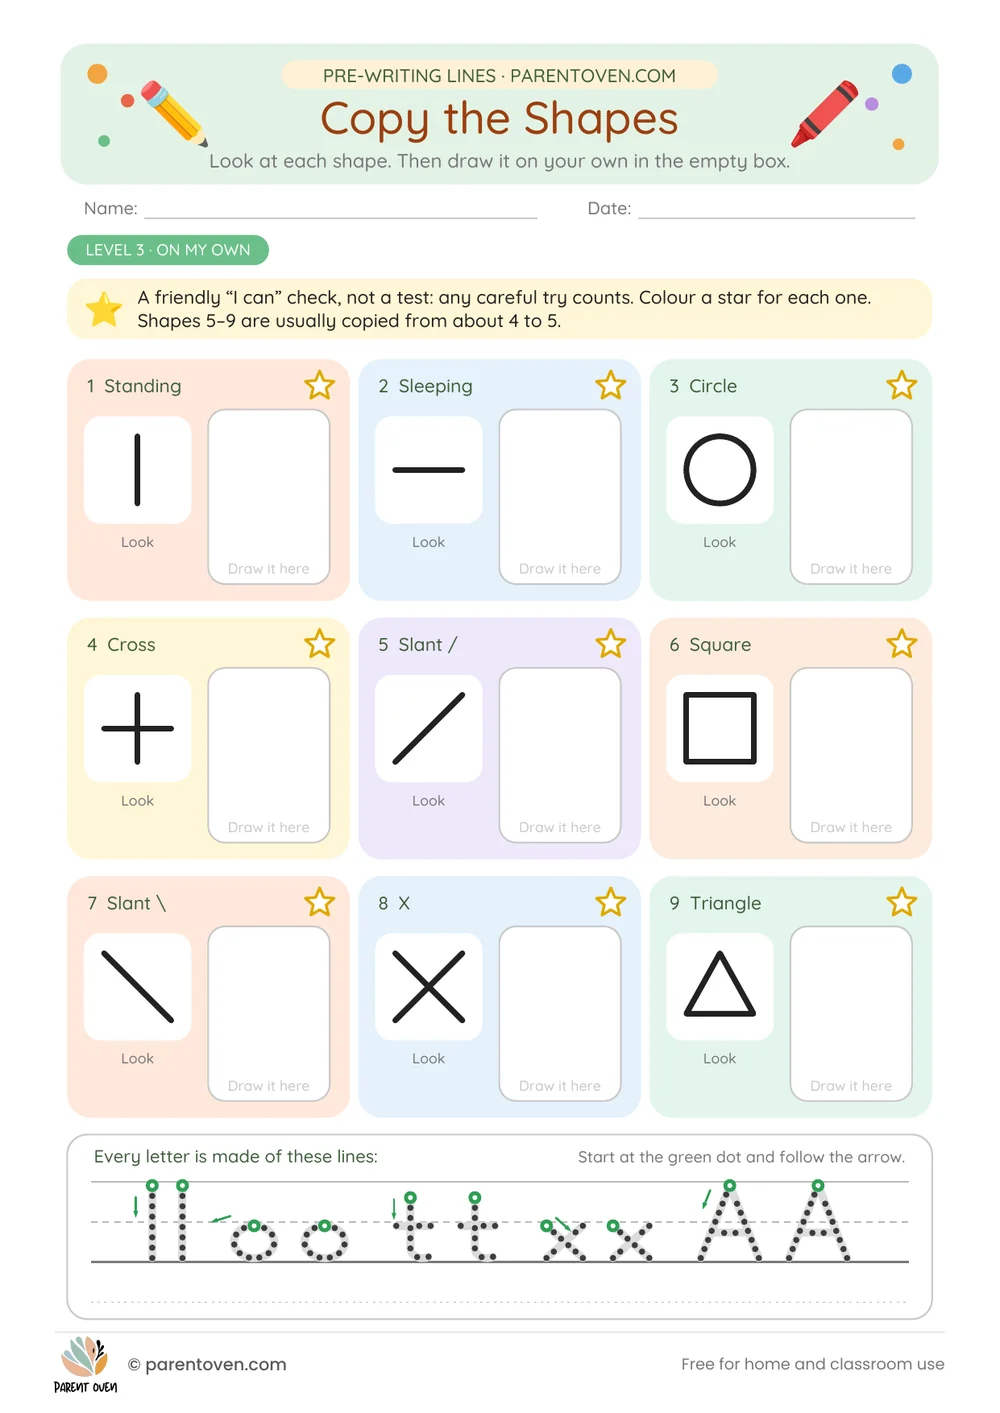
On my own: copy, four lines, letters
Copy all nine shapes into empty boxes (an “I can” check), place lines on four-line (kitta) ruling, then trace the first letters made only from lines: L T H E F I, o c a d e and A V v x z.
About 4+ · A4 · 4 pages incl. guide · colour 208 KB · black and white 176 KB
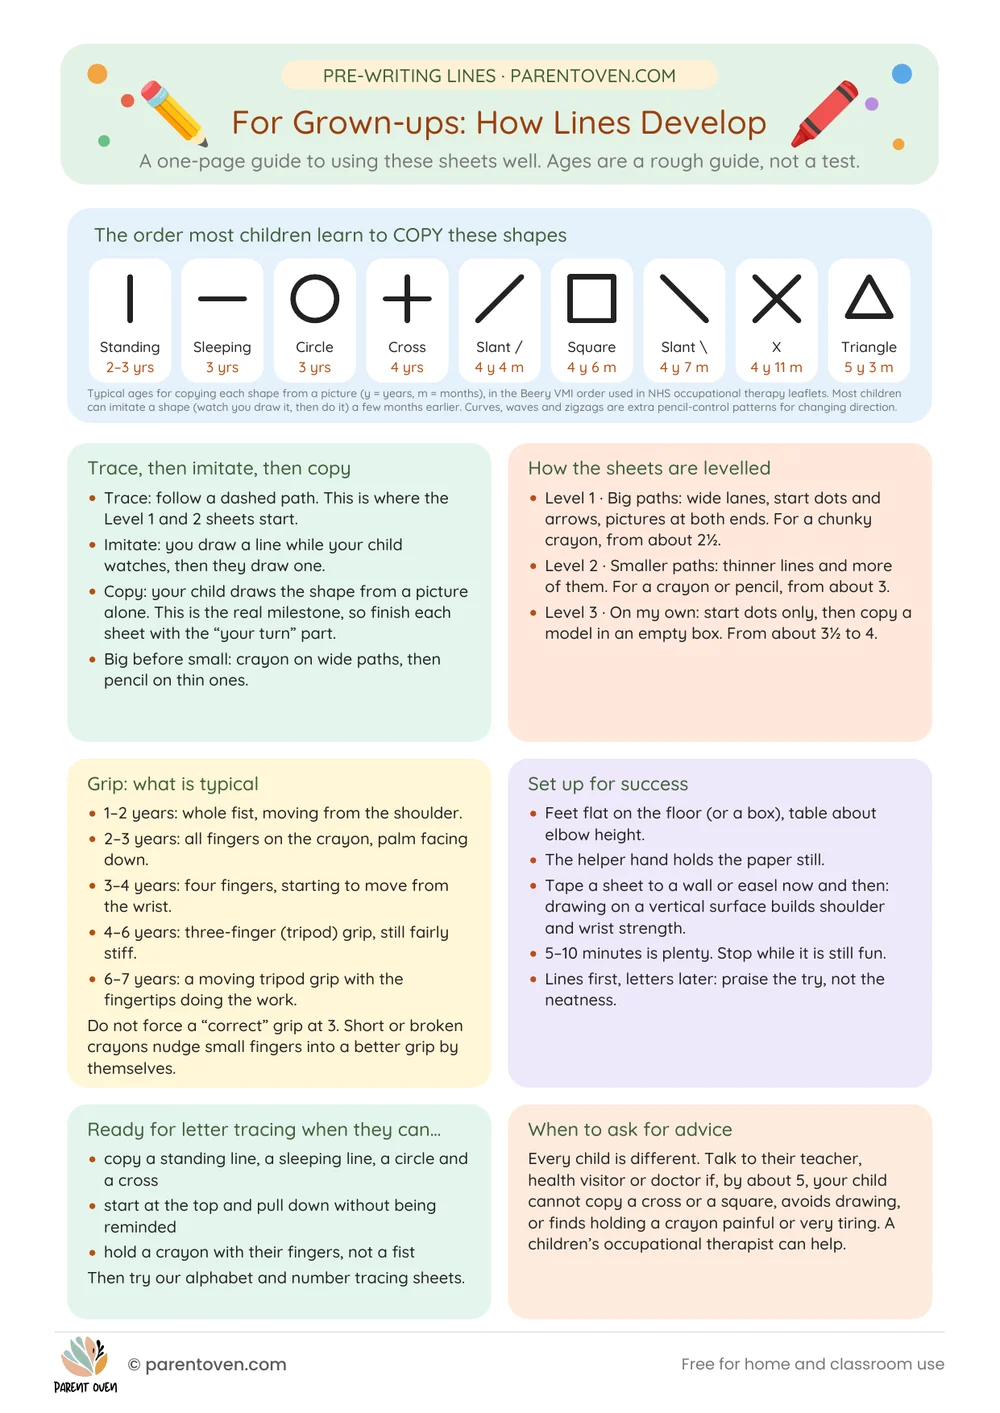
Grown-up guide and progress chart
One page on the order lines develop, typical grip by age, sitting, readiness signs and when to ask for advice, plus a 20-star progress chart and a “Line Star” certificate.
For grown-ups · A4 · 2 pages · colour 148 KB · black and white 117 KB
How the sheets are levelled
Each line goes from big and guided to small and independent. Many sheets mix two levels, so a child can finish the page a little more on their own than they started it.
Level 1 · Big paths
- Wide white lanes and a thick dashed line
- A green start dot and an arrow showing the way
- A picture at both ends, so there is a reason to get there
- For a chunky crayon, from about 2½
Level 2 · Smaller paths
- Thinner lines, and more of them
- Still a start dot on every line
- Real things to finish: fences, shelves, kites, roofs
- For a crayon or short pencil, from about 3
Level 3 · On my own
- Start dots only, or a model to copy into an empty box
- Four-line (kitta) ruling, like a school notebook
- The first letters made only of lines
- From about 3½ to 4
Ink-saving black-and-white versions
Every PDF has a black-and-white twin next to the colour one. The pictures are true outline drawings, the backgrounds are white or very light grey and the start dots are black, so a home printer uses far less ink. The layouts and levels are the same, and children can colour the pictures in.
Why the order of the lines matters
Children do not learn all lines at once. Occupational therapists use a well-tested order, the one behind the Beery VMI test of copying shapes, and most children follow it. Here are the typical ages for copying each shape from a picture, as listed in an NHS children’s occupational therapy leaflet:
- Standing line ( | ): about 2 to 3 years
- Sleeping line ( — ): about 3 years
- Circle: about 3 years
- Cross ( + ): about 4 years
- Slanting line ( / ): about 4 years 4 months
- Square: about 4 years 6 months
- Slanting line ( \ ): about 4 years 7 months
- X: about 4 years 11 months
- Triangle: about 5 years 3 months
Most children can imitate a shape (watch you draw it, then do it) a few months before they can copy it from a picture alone. Different sources give slightly different ages, but the order stays the same, so treat the ages as a rough guide, not a test. What the order tells you is useful: a child who cannot yet draw a steady standing line will find a slanting line frustrating, and a child who can copy a cross and a square is usually ready to start letters. Slanting lines are harder because the hand has to move down and sideways at the same time, and stop at the right place. That is why this pack marks slanting lines, squares, X and triangles as stretch sheets.
How to use the sheets by age
- About 2½ to 3 (playgroup, nursery): Level 1 standing and sleeping lines, and the big circles. Trace with a finger first, then a chunky crayon. One or two lanes is a good session. Scribbling on big paper still counts as practice.
- About 3 to 3½ (nursery, pre-K, LKG): Level 2 standing and sleeping lines and circles, the curves, standing and sleeping lines together, and the first crosses. Start the “Your turn” strips.
- About 3½ to 4 and up (LKG, pre-K, reception): the Level 3 pages, waves and zigzags, then the stretch sheets for slanting lines, squares, X and triangles. When your child can copy a cross and a square, move on to the lines-to-letters page and alphabet tracing.
Go by the child, not the birthday. If a sheet ends in tears, go back a level; if it takes a minute, go up one. Five to ten minutes a day works better than one long session at the weekend.
Tips from occupational therapy
- Big before small. Draw the line in the air with a straight arm, on a steamy window or in a tray of sand or rice before the paper. Big arm movements build the “picture” of the line and the shoulder strength that steadies the hand.
- Use a vertical surface sometimes. Tape a sheet to the wall or an easel. Drawing on an upright surface keeps the wrist slightly bent back, the position used for writing, and strengthens the shoulder.
- Short crayons, not long pencils. A broken crayon or a short, chunky pencil is hard to hold in a fist, so small fingers move into a better grip on their own.
- Say the direction. “Top… down!”, “Across!”, “Round and back.” Words help children remember where to start, which matters later for letters like b and d.
- Use the start dot every time. Where a child starts a line becomes a habit, and starting at the top is the habit letters need. Put a finger on the green dot first.
- Trace the letter strip too. Every sheet ends with big dotted letters on four-line guides, each with a start dot. Trace one or two, and say “this letter has a standing line in it!”
- Reuse the sheets. Slip a sheet into a plastic sleeve and use a whiteboard marker, or print the black-and-white version.
Grip and sitting: what is typical
A child’s grip changes with age, and NHS occupational therapy guidance describes these usual stages: a whole-fist grip at 1–2 years; all fingers on the crayon with the palm facing down at 2–3; four fingers starting to move from the wrist at 3–4; a three-finger (tripod) grip, still fairly stiff, at 4–6; and a moving tripod grip with the fingertips doing the work at about 6–7. In England, the Early Years goal is a tripod grip “in almost all cases” by the end of Reception, when most children are 5. So a 3-year-old holding a crayon with four fingers is right on track. Don’t correct it; offer short crayons and lots of play with playdough, pegs, stickers and tearing paper.
For sitting, aim for feet flat on the floor (or on a box), a table at about elbow height and the other hand holding the paper still.
Which letters each line builds
- Standing lines: l, i, t, b, d, h, k, p, L, T, H, I, E, F and the numbers 1 and 4.
- Sleeping lines: t, f, e, z and the bars in A, H, T, E, F, L and 7.
- Circles: o, a, c, d, g, q, O, C, Q, G and 0.
- Curves: c, s, u, n, m, h, r, S, U, J and the numbers 2, 3 and 5.
- Slanting lines: v, w, x, y, z, k, A, V, W, X, Y, M, N, K and 7.
- Zigzags: z, w, M, W and N.
Common mistakes and quick fixes
- Starting at the bottom. Put a finger on the green dot and say “top” before the crayon touches the page.
- Going round circles clockwise. Show the arrow and draw it together, hand over hand, a few times. Anticlockwise is the direction for c, o, a, d and g.
- Pressing so hard the paper tears, or so lightly you can’t see it. Try a softer, chunkier crayon, or a felt pen that shows a line with little pressure.
- Racing. Speed means the line wanders off the path. Make it a slow “snail line” and count to five along each one.
- Jumping to letters too soon. If a child can’t yet copy a cross, letters such as t and f will feel hard. Spend another week on lines.
Ready for letters? Signs to look for
Your child is usually ready to move on to letter tracing when they can copy a standing line, a sleeping line, a circle and a cross, start at the top without being reminded, and hold a crayon with their fingers rather than a fist. Then try our alphabet tracing A to Z and number tracing 1 to 10.
When to ask for advice: every child is different, but talk to their teacher, health visitor or doctor if, by about 5, your child cannot copy a cross or a square, avoids drawing altogether, or finds holding a crayon painful or very tiring. A children’s occupational therapist can help.
Printing tips
- The PDFs are A4. On US Letter paper, choose “Fit to page” or “Scale to fit” so nothing is cut off.
- Use the black-and-white versions to save ink: outline pictures, white or light grey backgrounds and black start dots (the words on the sheet say “black dot” to match).
- Print the Level 1 pages on thicker paper if you have it; small children press hard.
- Every PDF ends with the one-page grown-up guide, so a single sheet printed for nursery still comes with the tips.
Sources: Solihull Children’s Occupational Therapy (NHS): pre-writing skills · Aneurin Bevan UHB (NHS Wales): developing a tripod grasp · Vancouver Coastal Health: developmental stages in pre-writing · UK Department for Education: EYFS fine motor skills goal · Schneck and Henderson (1990), American Journal of Occupational Therapy: grip development.
Keep going on Parent Oven
All tracing worksheets
Letters, numbers, cursive and Hindi, all in one place.
Alphabet tracing A to Z
The next step after lines, with lowercase letter tracing too.
Number tracing 1 to 10
Numbers made from the same lines, then 11 to 20.
Hindi letter tracing
Uses the same standing and sleeping lines, plus the शिरोरेखा top line.
Activities by age
Hand-strengthening play for 3-year-olds and 4-year-olds too.
Trace letters online
Finger tracing on a tablet, and the name tracing worksheet maker.
Preschool worksheets
More early learning, and the maze generator for pencil control.
Pre-writing questions
What are pre-writing lines?
They are the simple lines and shapes that letters and numbers are made of: standing (vertical) lines, sleeping (horizontal) lines, circles, crosses, slanting (diagonal) lines, squares, X and triangles, plus curves, waves and zigzags. Practising them first makes letters much easier later.
At what age should my child start pre-writing worksheets?
Many children enjoy Level 1 big paths from about 2½, after plenty of scribbling. Most can copy a standing line between 2 and 3 and a circle at about 3. Go by your child’s interest and attention, not the date.
Which line should we practise first?
Standing lines, then sleeping lines, then circles. Crosses usually come at about 4, and slanting lines, squares, X and triangles between about 4 and 5½.
Should a 3-year-old hold the pencil correctly?
Not yet. At 3 to 4 most children hold a crayon with four fingers, and the three-finger tripod grip usually settles between 4 and 6. Offer short, chunky crayons rather than correcting the grip.
Is there a black-and-white version?
Yes. Every sheet and the full 22-page pack come in an ink-saving black-and-white version with outline pictures and light backgrounds. Children can colour the pictures in, too.
When is my child ready for letter tracing?
Usually when they can copy a standing line, a sleeping line, a circle and a cross, and start at the top without a reminder. Then move on to our alphabet and number tracing worksheets.
More Tracing Worksheets
Also try: lowercase letters · shape worksheets · preschool worksheets